
Get started
Standard Odoo workflow. Also read the KMEE procedure for the Brazilian modules.
When you first open your Odoo Accounting app, the Accounting Dashboard welcomes you with a step-by-step onboarding banner, a wizard that helps you get started. This onboarding banner is displayed until you choose to close it.
The settings visible in the onboarding banner can still be modified later by going to Accounting -> Configuration -> Settings.
Accounting onboarding banner
The step-by-step Accounting onboarding banner is composed of four steps:
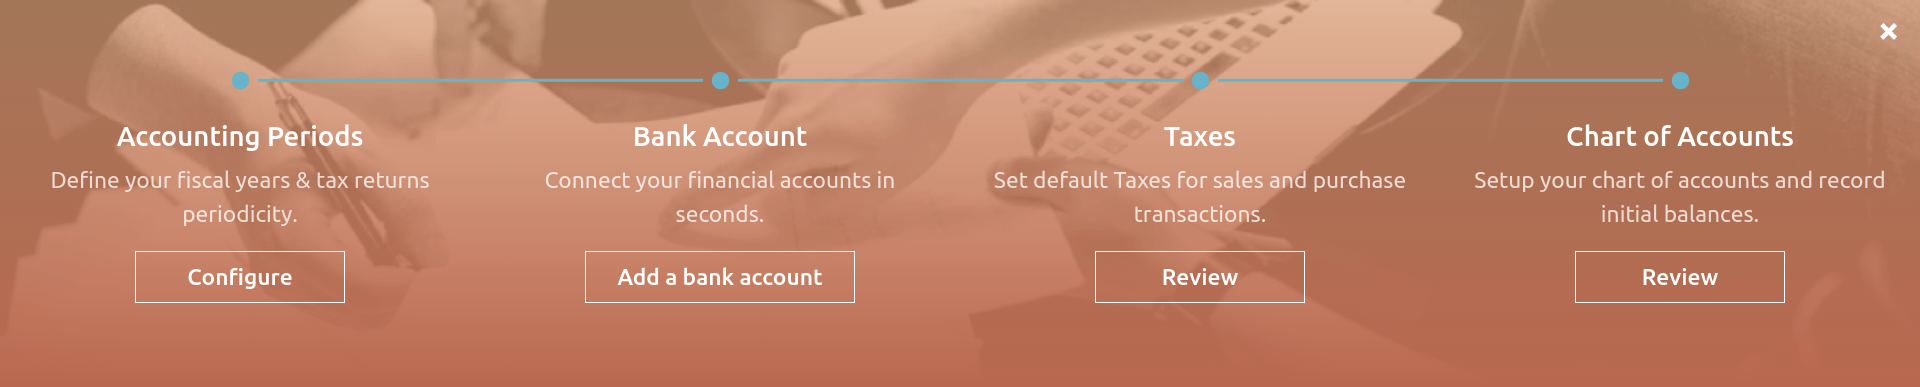
Accounting Periods
Define the Fiscal Years’ opening and closing dates, which are used to generate reports automatically, and set your Tax Return Periodicity, along with a reminder to never miss a tax return deadline.
By default, the opening date is set on the 1st of January and the closing date on the 31st of December, as this is the most common use.
Bank Account
Connect your bank account to your database and have your bank statements synced automatically. To do so, find your bank in the list, click Connect, and follow the instructions on-screen.
If your Bank Institution can’t be synchronized automatically, or if you prefer not to sync it with your database, you can also configure your bank account manually by typing its name, clicking Create your Bank Account, and filling out the form.
- Name: the bank account's name, as displayed in Odoo.
- Account Number: your bank account number (IBAN in Europe).
- Bank: click Create and edit to configure the bank's details. Add the bank institution's Name and its Identifier Code (BIC or SWIFT).
- Code: this code is your Journal's Short Code, as displayed in Odoo. By default, Odoo creates a new Journal with this short code.
- Journal: This field is displayed if you have an existing bank journal that is not linked yet to a bank account. If so, then select the Journal you want to use to record the financial transactions linked to this bank account or create a new one by clicking Create and Edit.
Taxes
This menu allows you to create new taxes, (de)activate, or modify existing taxes. Depending on the localization package installed on your database, taxes required for your country are already configured.
Chart of Accounts
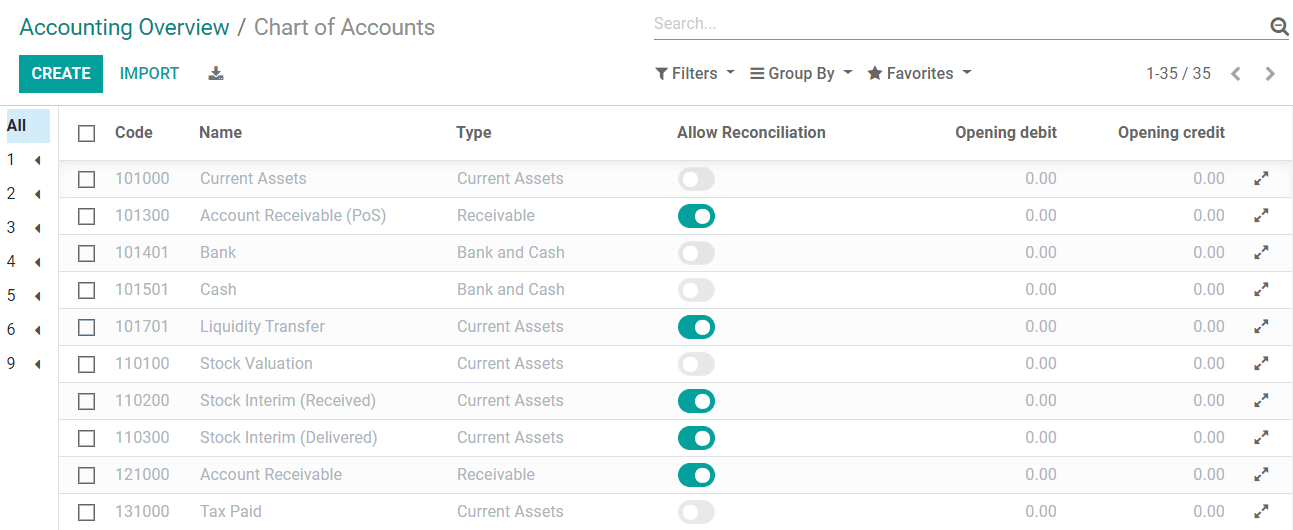
With this menu, you can add accounts to your Chart of Accounts and indicate their initial opening balances.
Basic settings are displayed on this page to help you review your Chart of Accounts. To access all the settings of an account, click on the Setup button at the end of the line.
Invoicing onboarding banner
There is another step-by-step onboarding banner that helps you take advantage of your Odoo Invoicing and Accounting apps. The Invoicing onboarding banner is the one that welcomes you if you use the Invoicing app rather than the Accounting app.
If you have Odoo Accounting installed on your database, you can reach it by going to Accounting -> Customers -> Invoices.
The Invoicing onboarding banner is composed of four main steps:
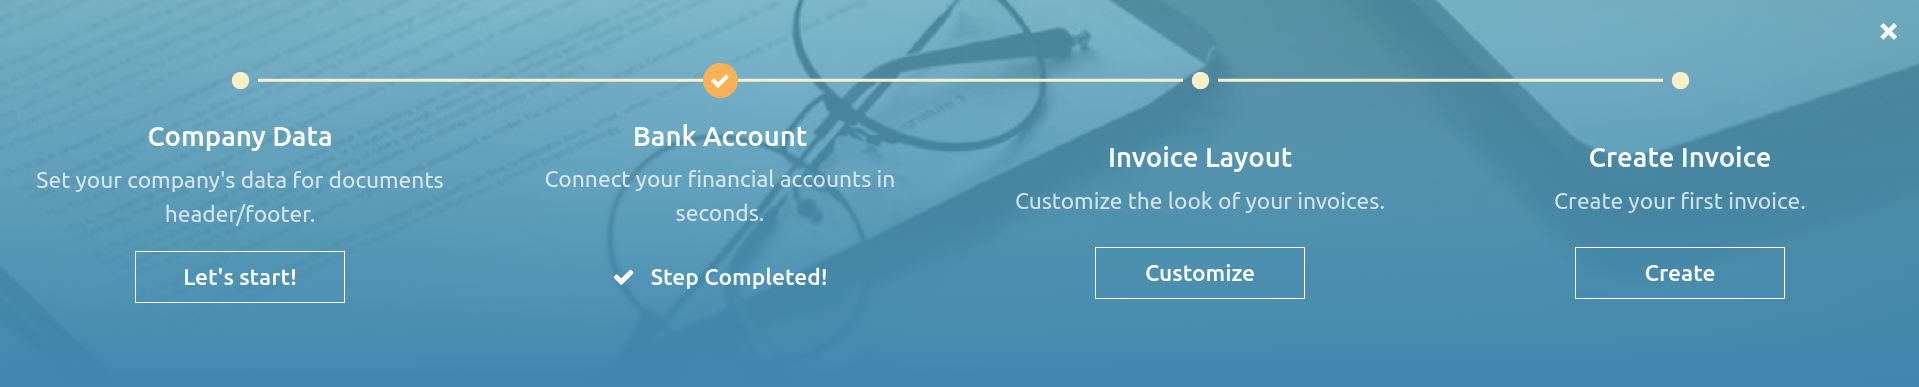
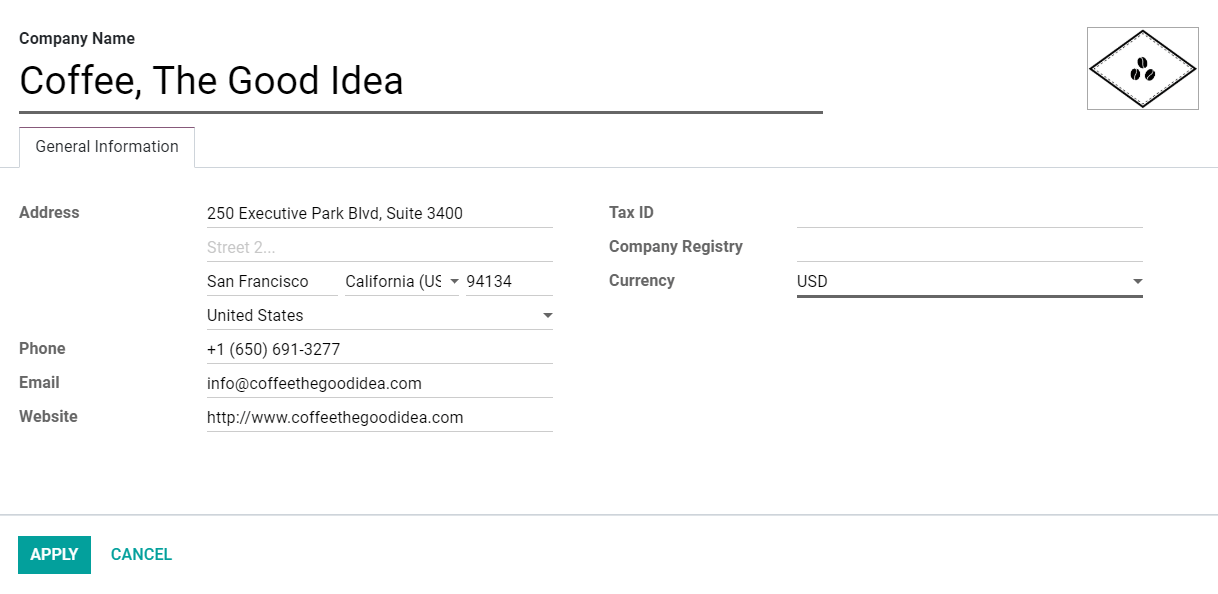
Company Data
This form allows you to add your company’s details, such as the name, address, logo, website, phone number, email address, and Tax ID or VAT number. These details are then displayed on your documents, such as invoices.
Bank Account
Use this button to create and link a bank account in Odoo. To add additional bank accounts, go to Invoicing --> Configuration --> Add a Bank Account and configure the fields.
Invoice Layout
Use this button to customize the default invoice layout.
Invoice Creation
This button takes you to the invoice creation view, where you can create your first invoice.
See also
- Bank and cash accounts
- Chart of accounts
- Bank synchronization
- Fiscal localizations
- Odoo Tutorials: Accounting and Invoicing - Getting started [video]